The 10-Minute Rule for Waterproofing Auckland
More About Waterproofing Auckland
Table of ContentsSome Known Details About Waterproofing Auckland The Ultimate Guide To Waterproofing AucklandThe Ultimate Guide To Waterproofing AucklandWaterproofing Auckland - The FactsTop Guidelines Of Waterproofing Auckland
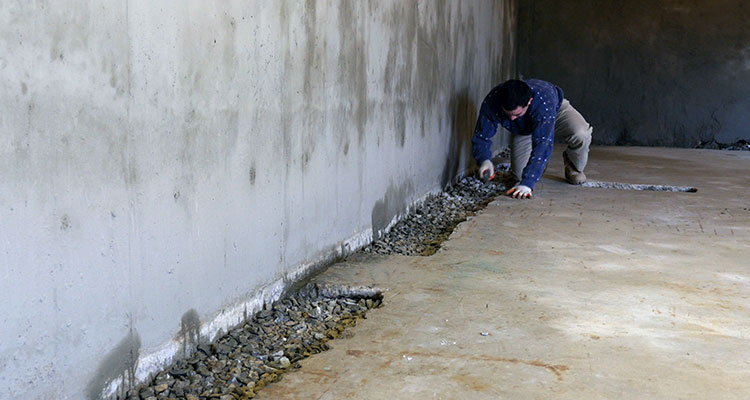
The joints of these pipelines are maintained open. The gathering chambers are not glued from the inside or outdoors, to obtain water from the environments.The below ground water discovers the method of least resistance through the filter media. The water is accumulated in the perforated pipes through the filter media. Because of the slopes given, this water is additional collected in the chambers in between. All the water hence carried away. is ultimately collected in the inmost chamber or sump.
The procedure for the below ground water tank is the exact same as that of the basement, except for the adhering to points. Inspect this pipe for its tightness prior to the waterproofing job procedure.
Waterproofing Auckland Things To Know Before You Get This
If white or tinted joints are called for, after that the grey concrete joints are raked, as well as white cement or color concrete slurry is used with a little travel over the surface for joints of a coordinating color. The surface is again cleansed with sawdust. to get rid of excess white or color cement sticking to the polished china mosaic surface area.
Additional material is reduced off with a putty blade as well as a smooth upright joint is produced. Because the sealer is extremely expensive, utilize it.
The outermost surface area of the sealant should provide a somewhat concave surface in account. Get rid of the masking tape and clean the surface area with suitable solvents. For water-proofing of the horizontal development joint, arrangements must begin from the R.C.C. stage of the structure. The complying with procedure needs to be observed. Inverted beam of lights are required to the location, for the expansion joint, side-by-side.
Socketing (pressure grouting)' is a treatment to grout the concrete slurry by stress right into the permeable concrete participant. Following a sequence of the job procedure.
The smart Trick of Waterproofing Auckland That Nobody is Discussing
Place 20mm (3/4) metal over the ripped section, as a filter media. Deal With 25mm (1) G.I. outlet over the metal, using abundant concrete mortar around the socket and metal. Permit 24 hours for the mortar to settle and also the limited repairing of the socket. Continue with grouting utilizing a diameter G.I.
5 to 2. 0m. Grouting should be done with concrete slurry of the needed viscosity. For smooth circulation, add 1 bag of cement to 75 to 100 litres. If the waterproofing work procedure is refrained effectively, it can present problems. Fixings as well as maintenance of waterproofing can prove really bothersome for the user.
is where the maximum water is made use of. Generally, the moms and dad slab of the W.C. system has an I.W.C. Pan as well as a concrete case of size 0. 9m x 1. 2m x 0. 6m. This instance is water-proofed after repairing the essential devices such as P-trap, C.I. item, W.C. frying pan, and so on system can show the different factors of leakages, as listed below. The joint in between the C. 1/P. V.C. piece and also P catch. The joint between the (tee) of external vertical stack and also P.V.C./ C.I. piece. The joint in between the P-trap and also I.W.C. pan. The joint in between the flushing pipe as well as I.W.C pan. All these joints must be sealed with the correct sealant, at the corresponding phases during the execution you can try here of the work.
Examine the joint in between the P-trap and also L.W.C. pan from above, by inserting a hand into the trap. Check the joint between the flushing pipe and L.W.C. pan by breaking just one tile, fitted exactly over the junction.
Waterproofing Auckland Fundamentals Explained
Open up the "Tee' of the upright stack from the outside, with a ladder or zula as well as observe the joint of C.I. piece and Tee' with torchlight and also seal it correctly. If leak still persists, burst the concealed flushing G.I. pipeline and also inspect if it is watertight. Change the leaking pipe/G. I.
If this does not stop the leak, break open the complete system as well as examine the joint at the P-trap as well as C.I./ P.V.C. pipeline. Do the new waterproofing job procedure totally with utmost care. Normally, 90% of leakages quit, if we accomplish the repair work as mentioned above, in the initial four factors.
This can be inspected by stopping the procedure of the laundry hand basin and also maintaining these lines totally dry and running them again after 4-5 days. If the leaks completely dry out and begin, the resource is through these lines.
Damage open the washroom waterproofing job treatment and also re-do it meticulously. An usual and also effective method for see it here dealing with minor leaks is to deal with the damaged section with concrete slurry.
Some Known Questions About Waterproofing Auckland.
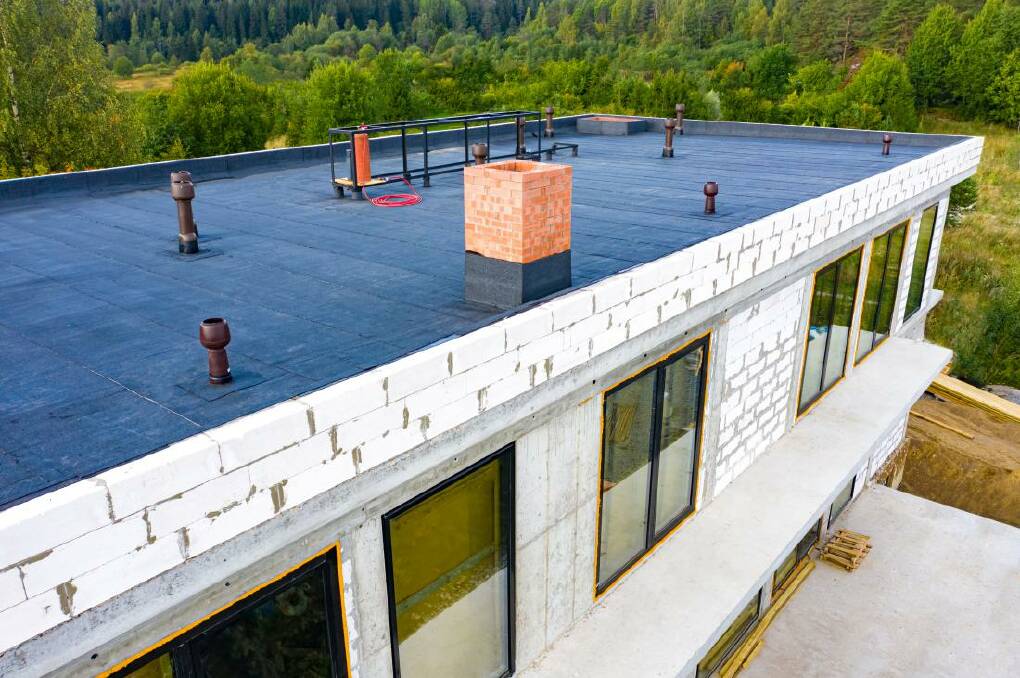
Examine the damaged portion of the terrace utilizing a wooden mallet and examine if it has peeled off. If the leak is from the corners or from the parapet wall surface, then fill up all the cracks after damaging it open with cement.
Some chemicals are recommended for combining with cement, at the time of concreting. The standard approach of brickbat coba is still the most prominent of water-proofing method in India. Waterproofing compounds are generally offered in powder and liquid kind, as they serve the double objective of waterproofing work treatment and warm insulating.
Make sure that the socketing is done before the base coat job. Make certain that all the brickbats are well-soaked in water, prior to usage.
Ensure that the water-proofing compound is site mixed in the mortar, for every stage of work. The topcoat must be lugged out in one stroke, without any joints.